How to Deploy Node.js App in EC2 instance?
Answer
In this post, I will tell you what is PuTTY, FileZilla and Amazon EC2 instance and how to deploy a node.js app (website) in AWS EC2 instance.
What is PuTTY?
PuTTY is open source SSH and telnet client software that allow you to remotely connect to your Amazon EC2 instance to install / update operating system, software, package, and so on.
What is FileZilla?
FileZilla is a open source FTP, FTPS and SFTP software that allows you to transfer your file from your local machine to the Server.
What is Amazon EC2 Instance?
Amazon EC2 instance is the varying combinations of CPU, memory, storage, and networking capacity that allow you to run your websites.
The best part of the Amazon EC2 instance is that it will allow you to scale your resources to the requirements of your target workload.
Creating a Simple Node.js App
Our Node.js App will contain two files:
-
home.html - Client-Side HTML file
HTML Online Compiler<!DOCTYPE html> <html> <head> <title>Welcome Home</title> </head> <body> <h2>Welcome Home</h2> </body> </html> -
index.js - Server-Side Node.js file
Node.js Compilervar express = require("express"); var app = express(); app.get("/", function(req, res) { res.sendFile(__dirname + "home.html"); }); app.listen(80, function() { console.log("port is listening to 80"); });
Sign-In to Your AWS Account
Lets go to https://aws.amazon.com/console/ and do any one of the following:
- If you have an AWS Account - Click on the 'Already have an account? Sign in' link and Sign-In
- If you do not have an AWS Account - Click on the 'Create a Free Account' button and then Sign-In
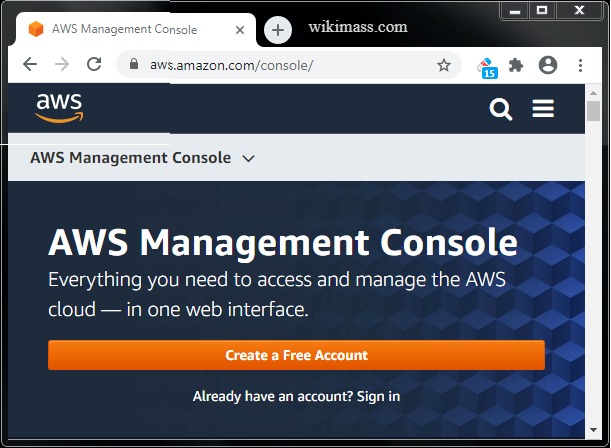
Now you will head towards the "AWS Management Console" Page.
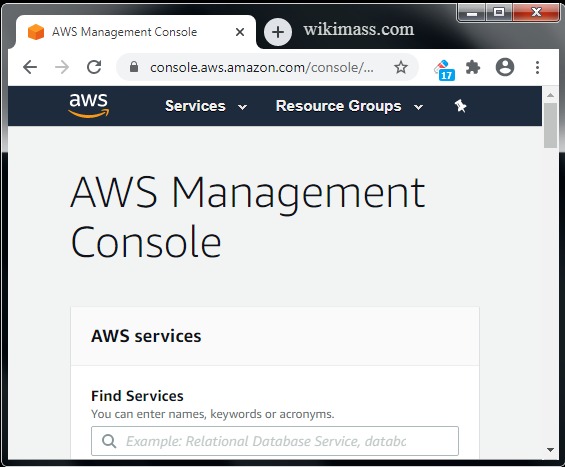
Launch an EC2 Instance
From the "AWS Management Console page", click on Services ⟶ EC2 (under Compute section).
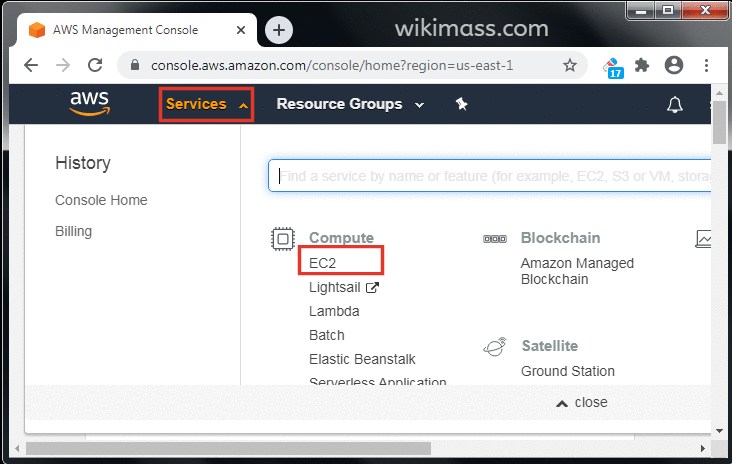
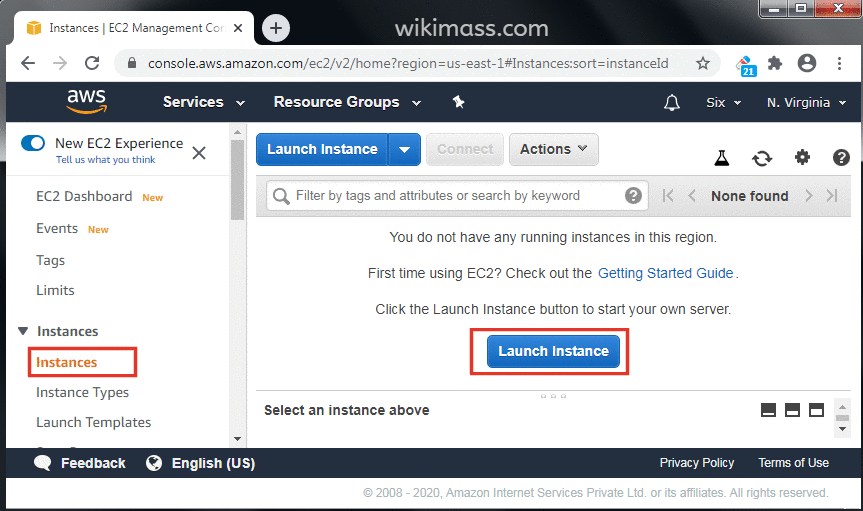
Now you will head towards the "EC2 Management Console" page. Before choosing anything, make sure that the deploy region is of your choice.
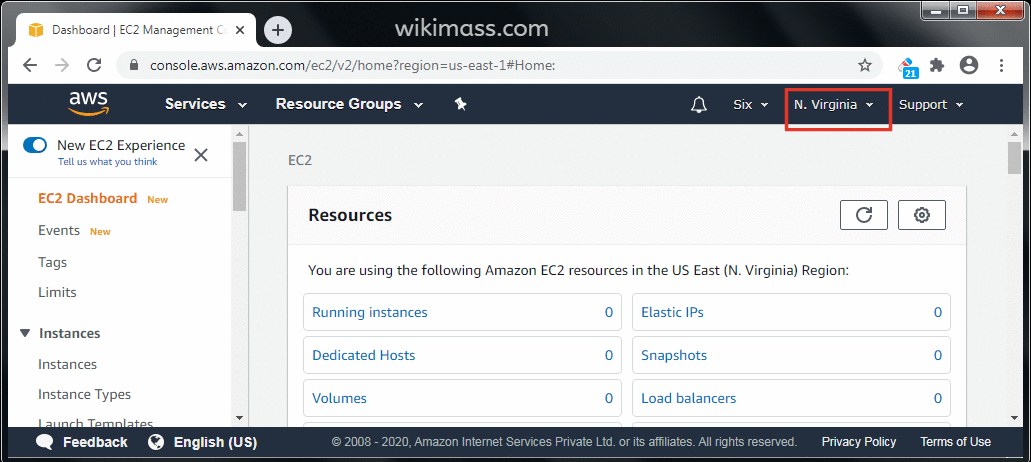
From the "EC2 Management Console" page, click on Instances ⟶ Launch Instance.
Now you will head towards the "Launch instance wizard" Page. Do the following steps to launch an AWS EC2 instance.
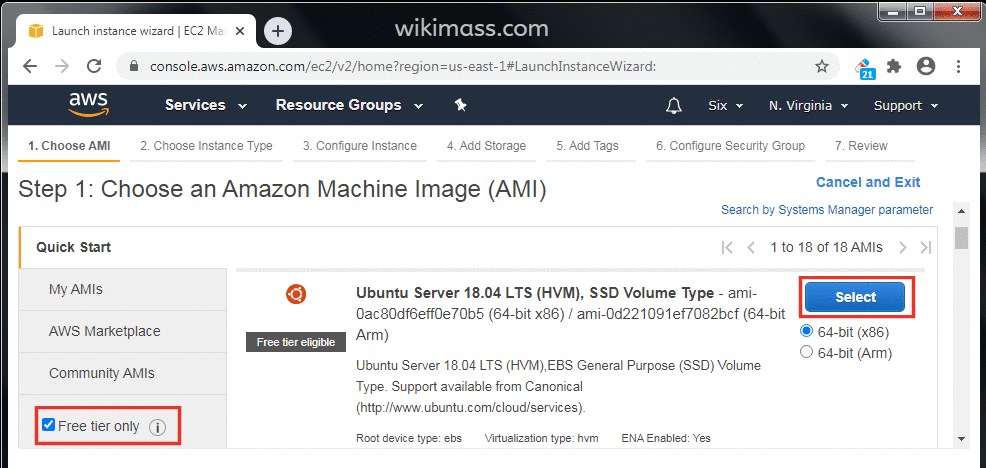
Step 1: Choose an Amazon Machine Image (AMI)
Do the following steps:
- Click on the check box 'Free tier only'.
- Choose 'Ubuntu Server 18.04' (you are requested to choose latest version).
- Click on the check box 64-bit(x86)
- Click on "Select" button
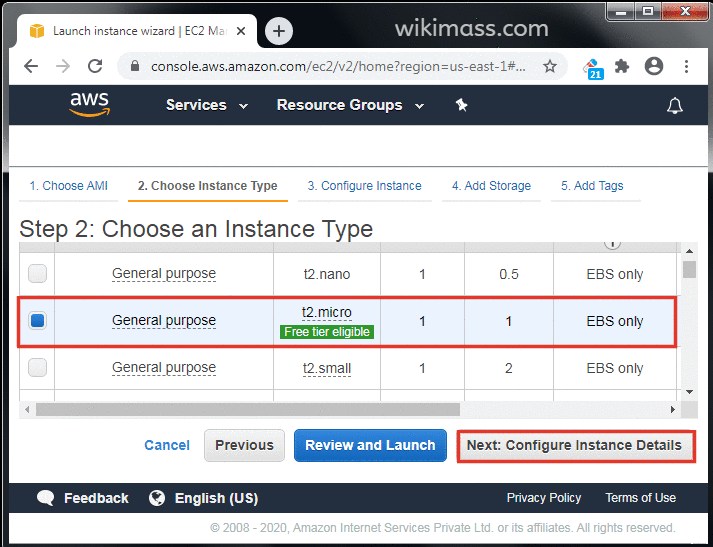
Step 2: Choose an Instance Type
Do the following steps:
- Choose "t2.micro" (Free tier eligible) instance.
- Click on the 'Next: Configure instance Details' button.
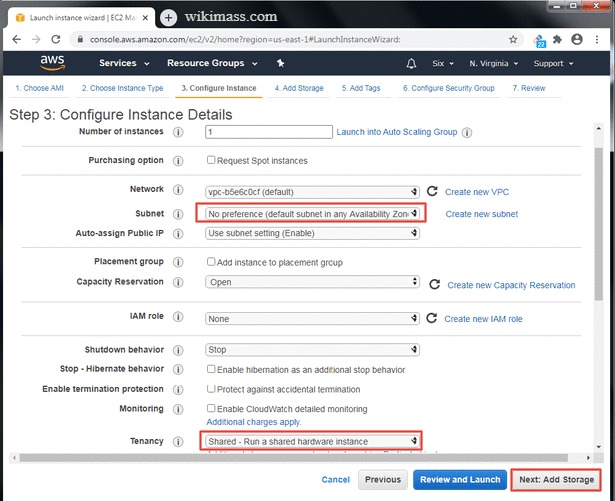
Step 3: Configure Instance Details
Leave everything as it is and click on the 'Next: Add Storage' button.
Points to be noted
- You are free to choose the 'Subnet' of your choice or AWS will choose any available 'subnet' on behalf of you.
- Make sure the 'Tenancy' is 'Shared - Run a shared hardware instance'.
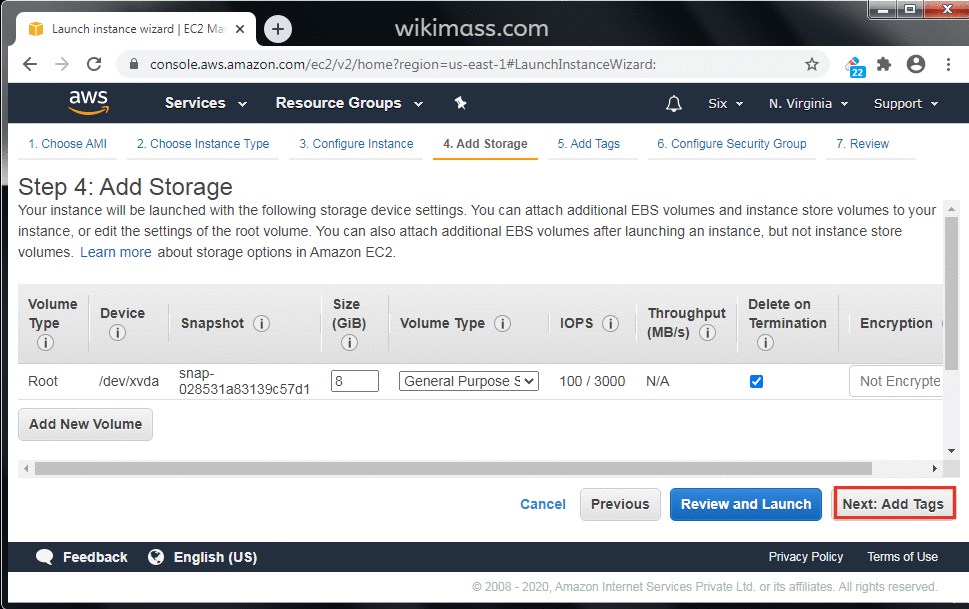
Step 4: Add Storage
Leave everything as it is and click on the 'Next: Add Tags' button.
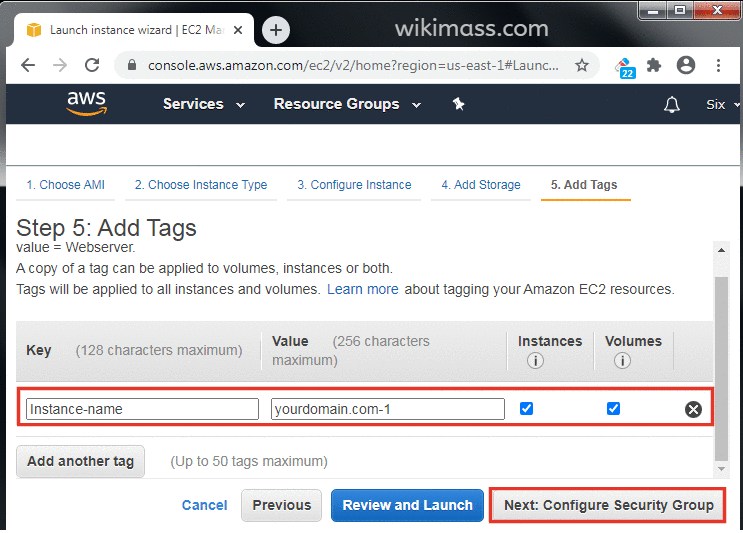
Step 5: Add Tags
Type key-Value name of your choice and click on the 'Next: Configure Security Group'.
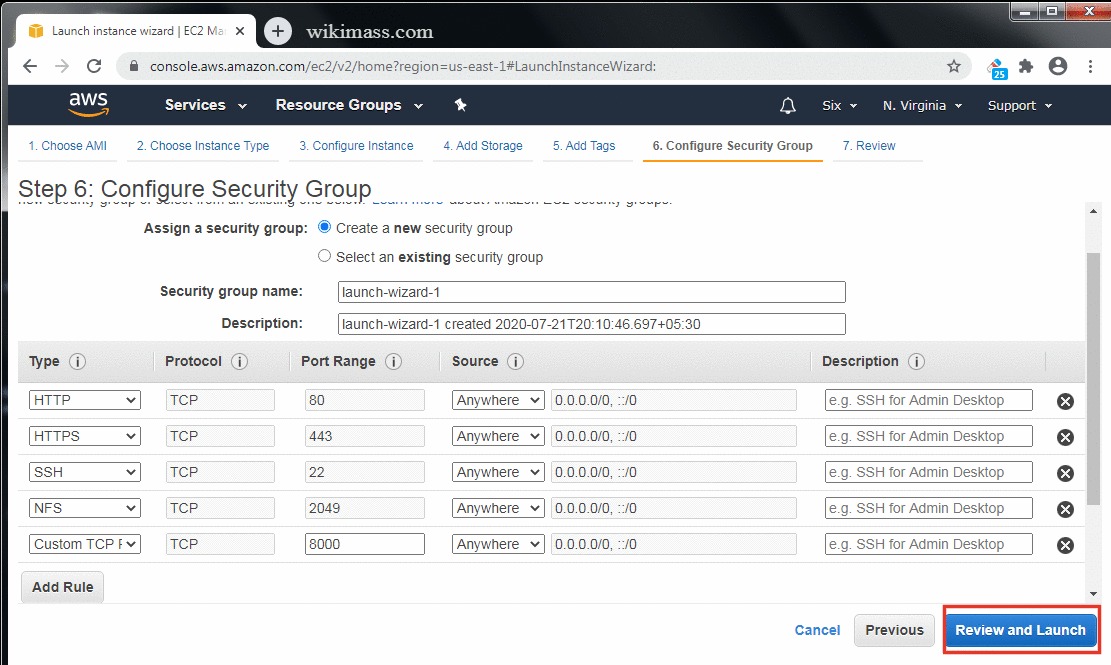
Step 6: Configure Security Group
Do the following steps:
- In Assign a security group, choose 'Create a new security group'.
- In Security group name input box, type a meaning full name of your choice.
- In Description input box, type a detail information about the Security Group.
Now, add the following rules
| Type | Source | Explanation |
|---|---|---|
| HTTP | AnyWhere | To HTTP request |
| HTTPS | AnyWhere | For HTTPs request |
| SSH | AnyWhere | To upload files to EC2 instance (using Filezilla). |
| NFS | AnyWhere | To share the files remotely (EFS) |
| Custom TCP Rule | AnyWhere | One free port for testing (Not necessary) |
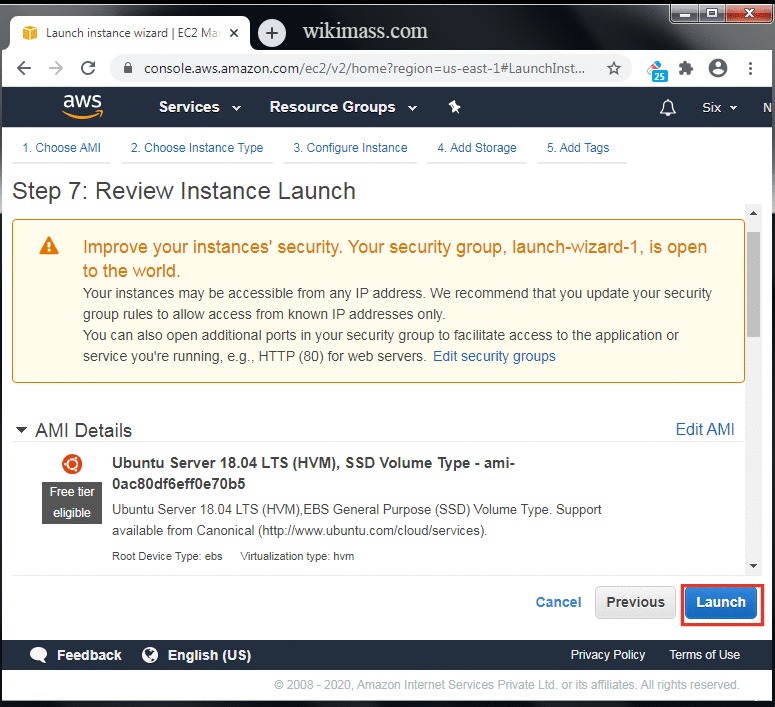
Step 7: Review Instance Launch
Review all the details of your ec2 configuration and click on the 'Launch' button.
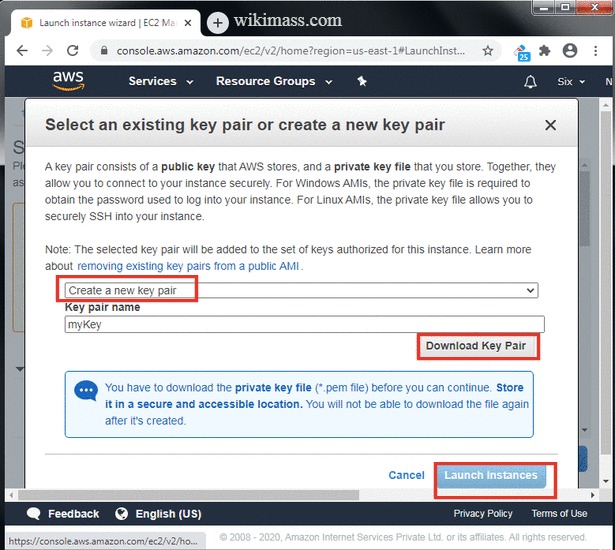
Download New key pair
Now, 'Select an existing key pair or create a new key pair' pop up will appear. Do the following:
- Choose the 'Create a new key pair' option.
- Type the name of your new key pair.
- Click on the 'Download Key Pair' button.
- After the download, the 'Launch' button will be enabled. Click on the 'Launch' button.
Points to be Noted:
- Do not delete your 'key pair' file. Because it is the only way to access the EC2 instance you launched.
- Do not share your 'key pair' file in any internet platform in any case.
Launch Status
Click on the 'View Instances' button.
Note: AWS will take at least 5 mins to launch your EC2 instance.
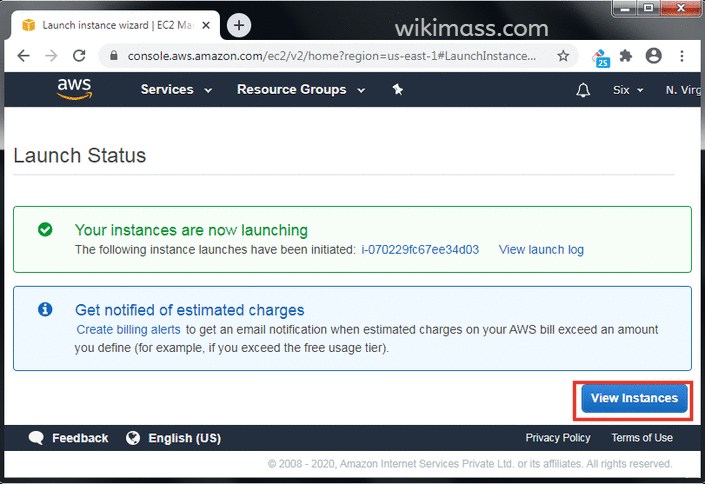
Hurray! Your EC2 instance was launched successfully.
Connect to Your Instance from Mac or Linux
To connect to your EC2 instance from Mac or Linux using a standalone SSH client. Do the following:
-
Open your command line shell
-
Change the directory to the location of the private key file that you created when you launched the instance.
-
Use the chmod command to make sure your private key file isn't publicly viewable.
For example, if the name of your private key file is myKey.pem, use the following command:
chmod 400 myKey.pem
-
Use the following SSH command to connect to the instance:
ssh -i /path/myKey.pem ubuntu@public_dns_name
Connect to Your Instance from Windows
To connect to your EC2 instance from Windows using a standalone SSH client, you need 3 tools:
-
PuTTY - To start, stop, delete, or restart your application remotely.
-
PuTTYgen - To convert your myKey.pem file to myKey.ppk file. Because PuTTY and Filezilla accepts .ppk file only.
-
Filezilla - To upload all your files from your PC to EC2 instance.
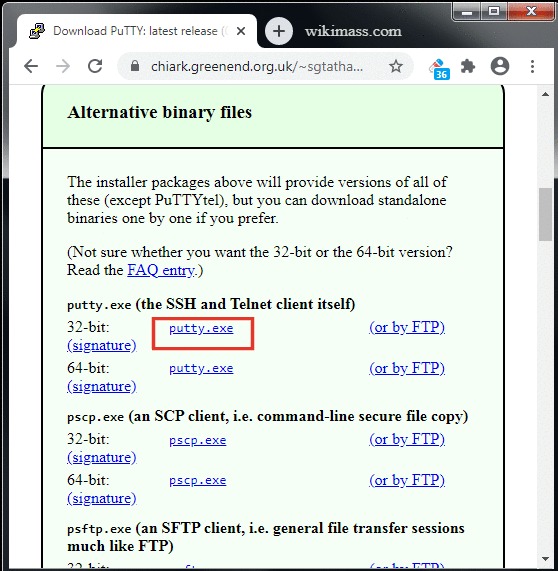
Download PuTTY for Windows
Download PuTTY for your windows (Mine is 32-bit).
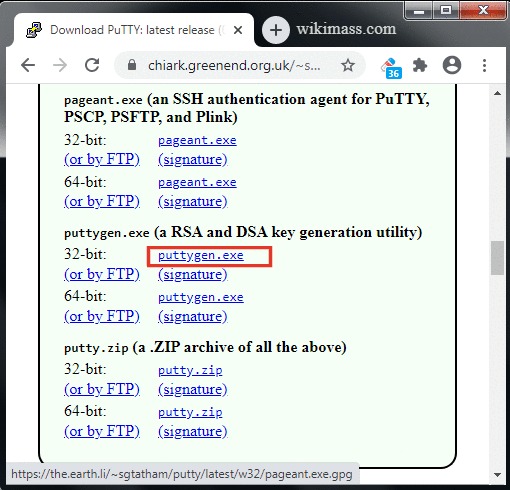
Download PuTTYgen for Windows
Download PuTTYgen for your windows (Mine is 32-bit).
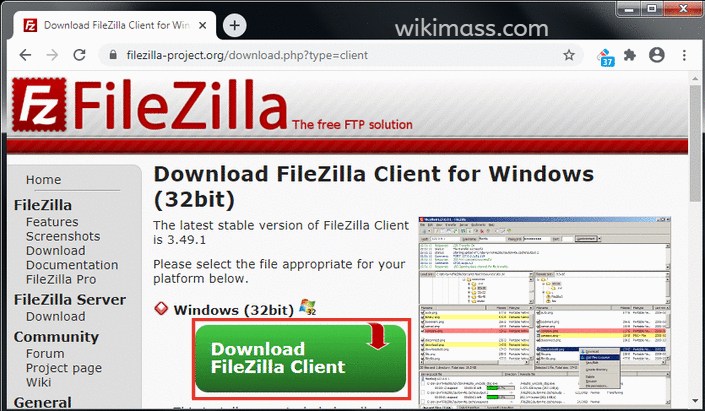
Download Filezilla for Windows
Download Filezilla for your windows (Mine is 32-bit).
All required software to connect to Amazon EC2 instance from your windows is downloaded and installed.
Convert .pem file to .ppk file
To Convert your myKey.pem (that you created when you launched the instance) to myKey.ppk. Do the following:
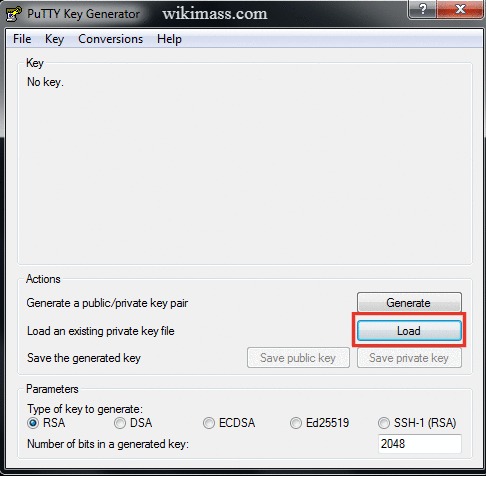
-
Open PuTTYgen and click on the 'load' button.
-
Change the file type to 'All Files(".")' and locate your myKey.pem file.
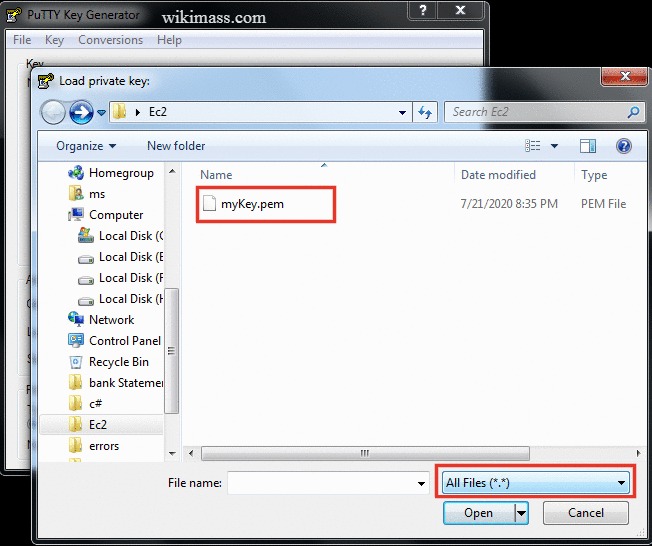
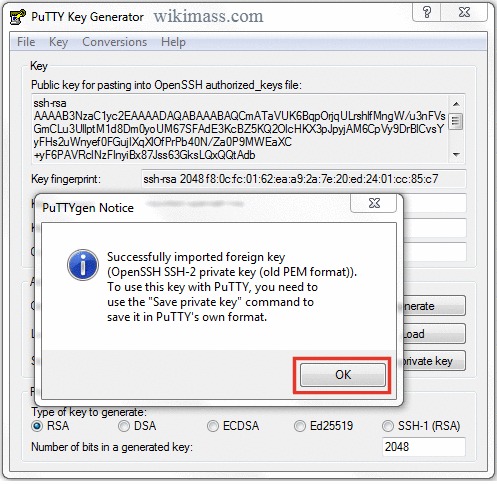
-
Click on your myKey.pem file. Now, the PuTTYgen Notice dialog box appears, click on the 'OK' button.
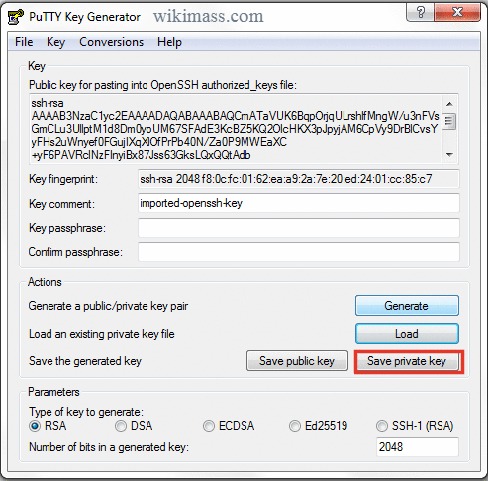
-
Now, click on the 'Save private key' button.
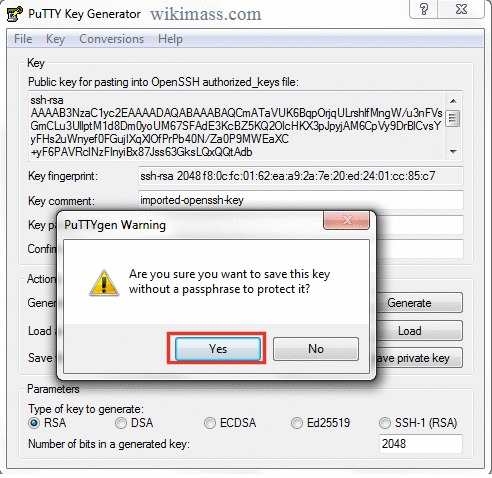
-
Now, the PuTTYgen Warning window appears, click on the 'Yes' button to save your key file without a passphrase to protect it.
-
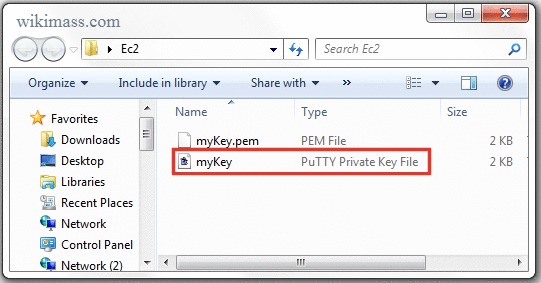
Type the ppk file name of your choice and click on the 'Save' button.
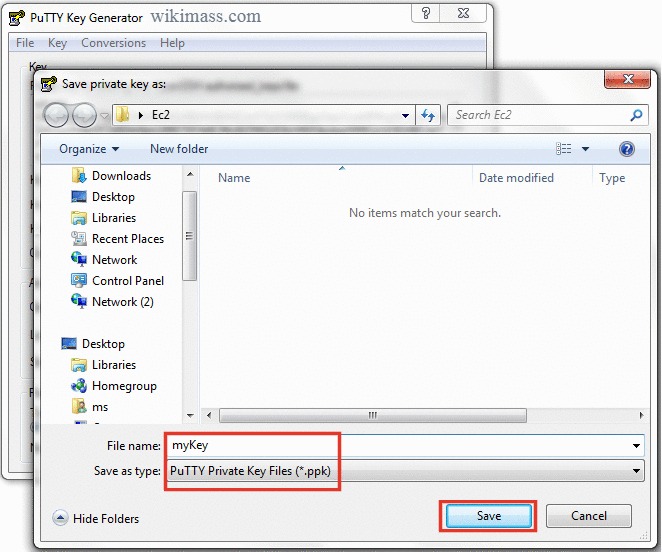
-
Hurry! you have converted your myKey.pem file to myKey.ppk file successfully.
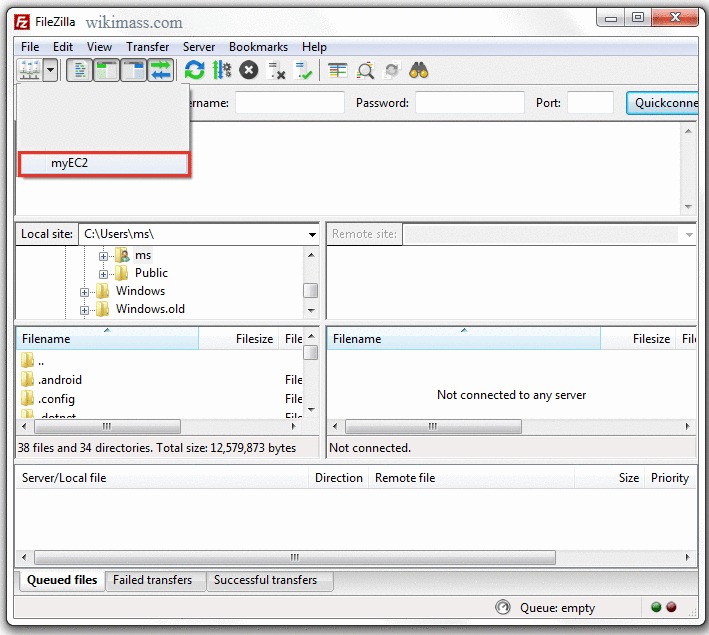
Setting up Filezilla
Now we will set up Filezilla to upload our local files to the EC2 instance. To do so, please follow these steps:
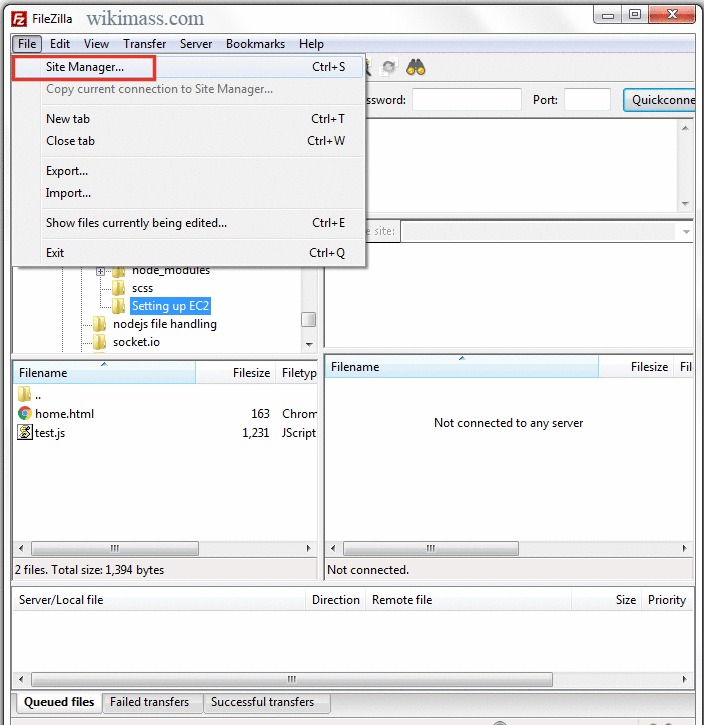
-
Open up filezilla and click on the menu File ⟶ Site Manager....
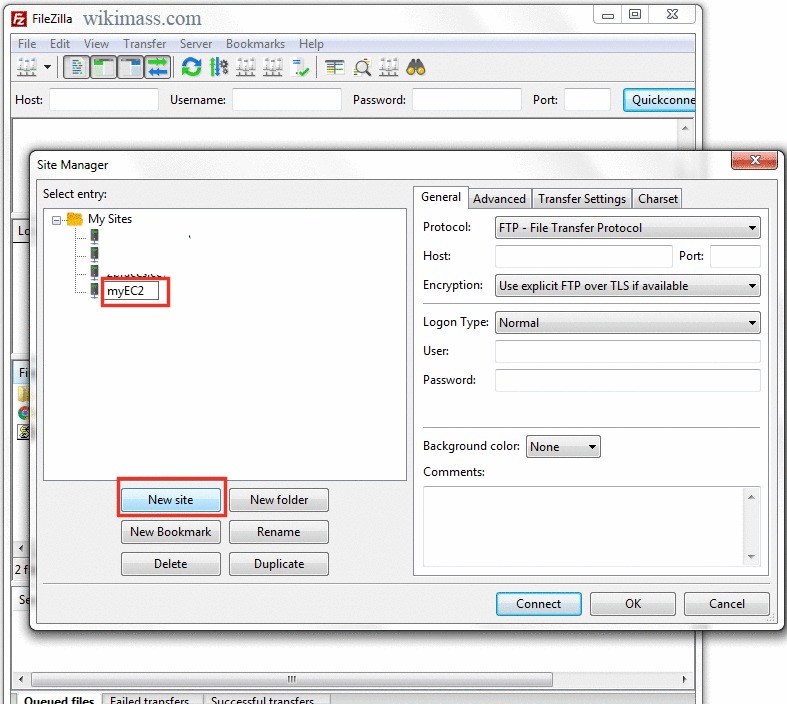
-
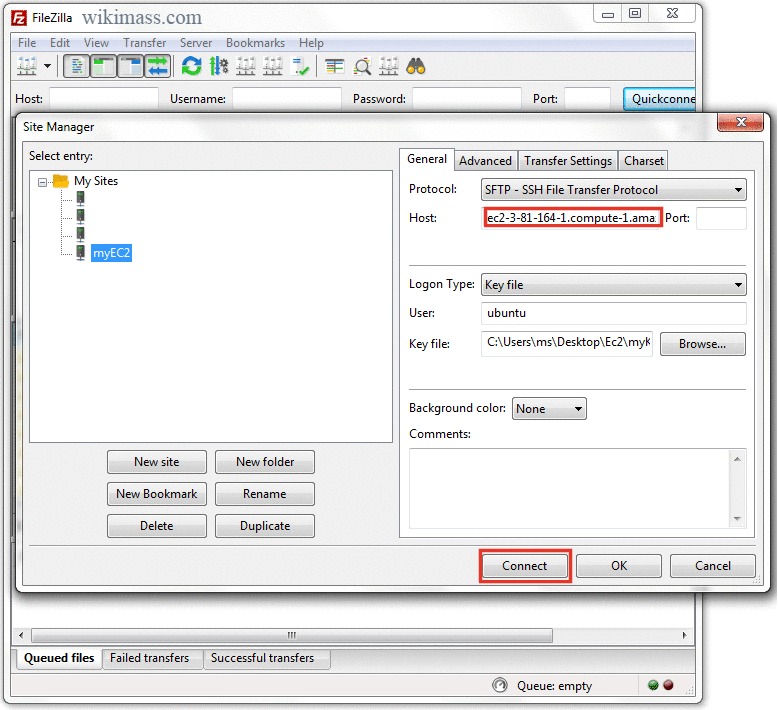
The 'Site Manager' Pop up window will appear. Click on the New site and type the name of your choice.
-
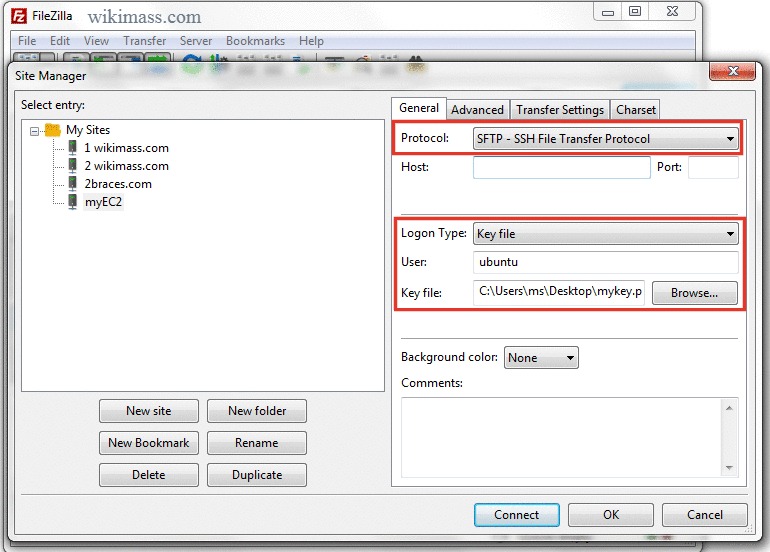
From the same window, do the following configuration:
- Protocol ⟶ 'SFTP - SSH File Transfer Protocol'.
- Logon Type ⟶ 'Key file'
- User ⟶ 'ubuntu'
- Key file ⟶ Locate your myKey.ppk file by clicking on the 'Browser...' button.
- Host ⟶ Your EC2 instance 'Public DNS (IPv4)' name (follow next step).
-
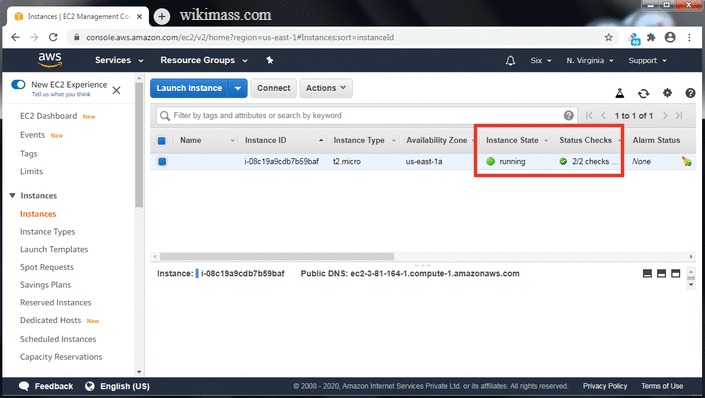
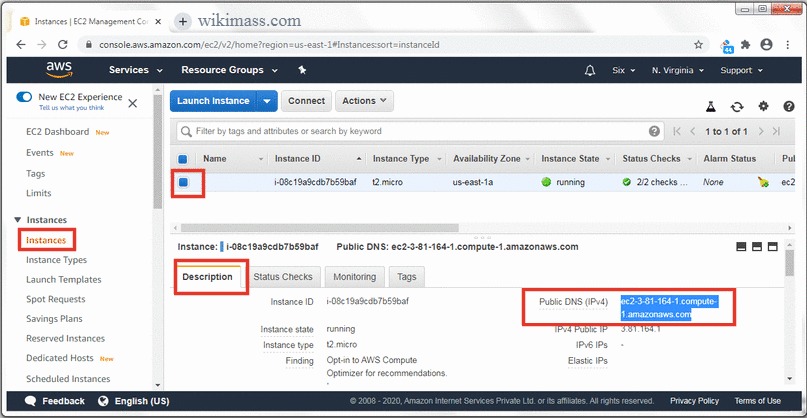
Open up your EC2 instance Page from 'AWS Management Console' and do the following:
- Click on the Instances on the left side menu.
- Click on the Instance that you want to connect from Filezilla.
- Click on the Description tab in the bottom menu.
- Copy your Public DNS (IPv4) name.
-
Now paste the copied value to the Filezilla Host input box and click on the 'connect' button.
-
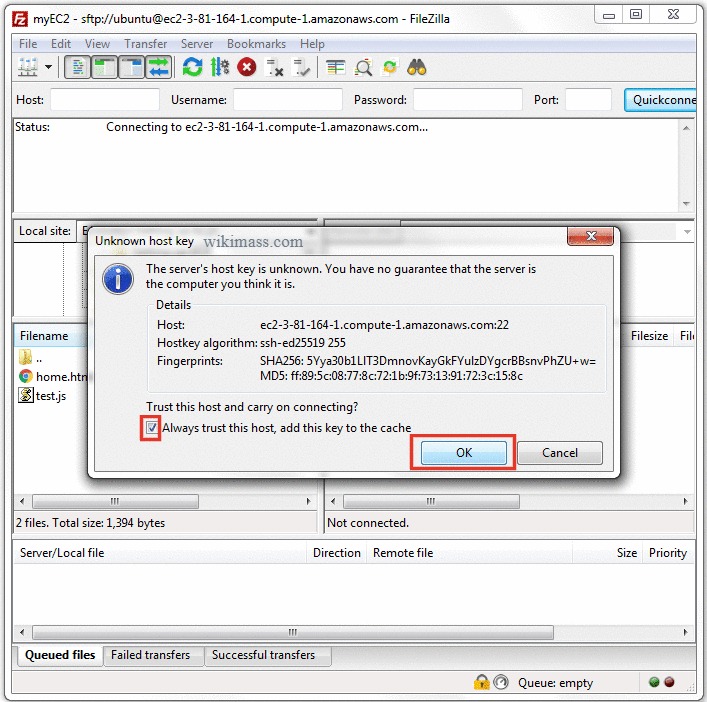
Now, the 'Unknown host key' window will appear. Tick the checkbox and click on the 'OK' button.
-
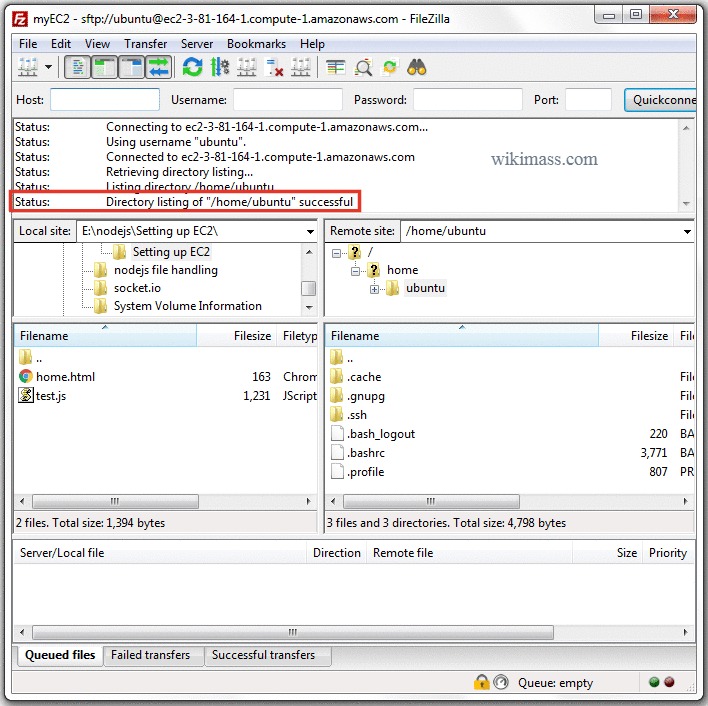
Hurray! You are connected to your EC2 instance via Filezilla.
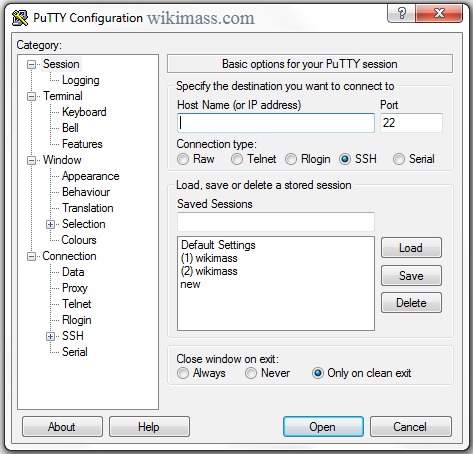
Setting up PuTTY
Now we will set up PuTTY to access your EC2 instance. To do so, please follow these steps:
-
Open up PuTTY
-
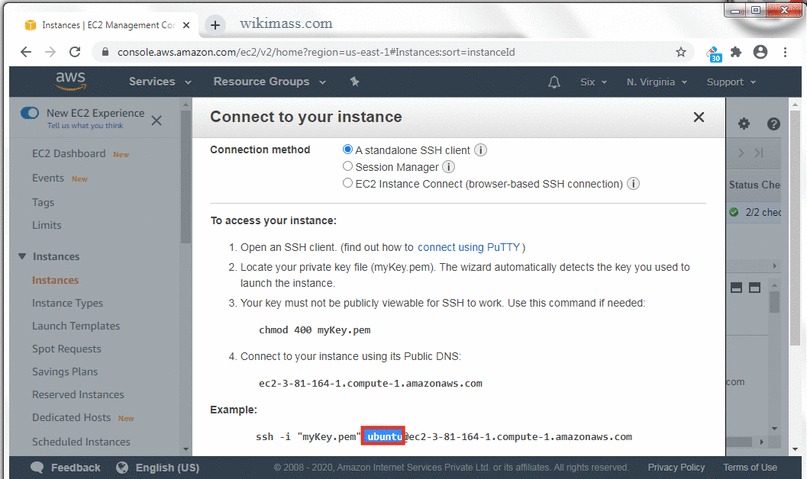
Find your Host Name in your 'AWS Management Console' by clicking on the 'connect' button in your Instances page.
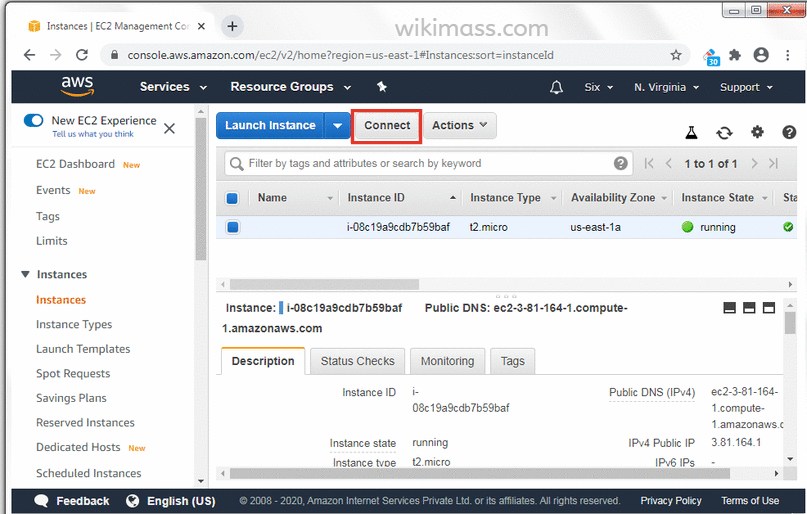
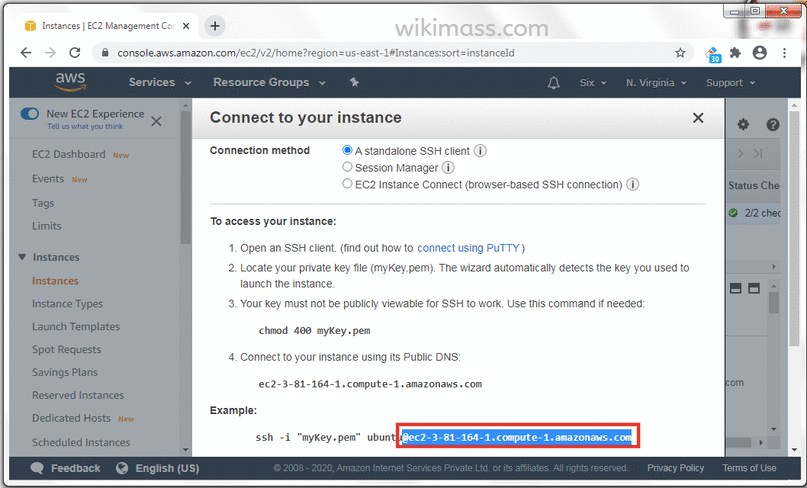
-
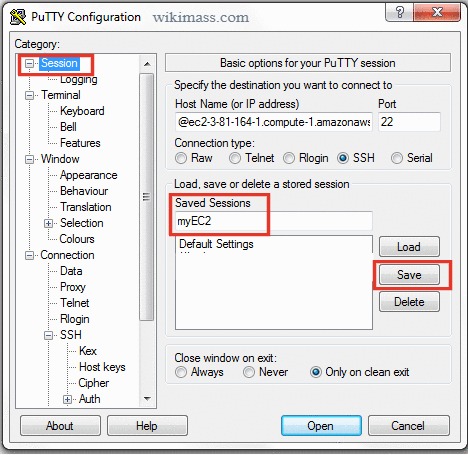
The 'Connect to your instance' pop up appears. Copy the Host Name starting from '@'.
My Host name is '@ec2-3-81-164-1.compute-1.amazonaws.com'
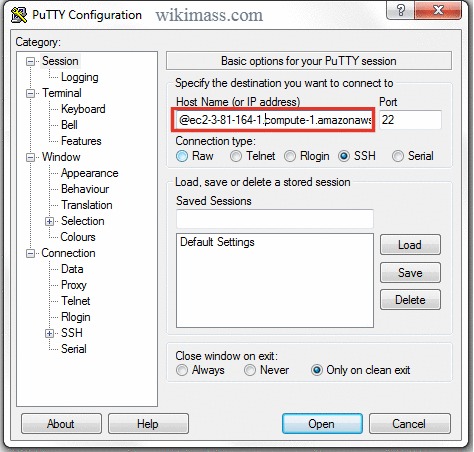
-
Now paste the copied host name to the PuTTY.
-
Now click on the 'Data' menu under 'Connection' section in the left side menu.
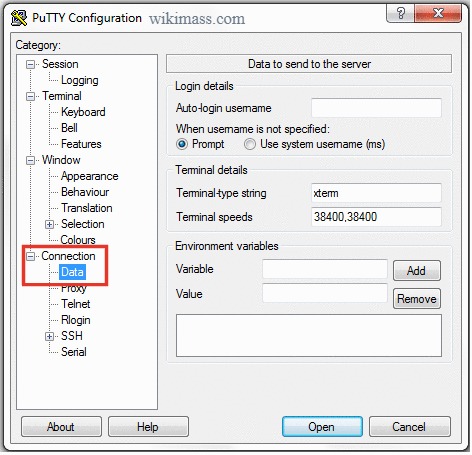
-
To fill the Auto-login username, find your user name from your 'AWS Management Console' by clicking on the 'connect' button in your Instances page.
-
Copy your EC2 instance 'username'. In most cases your username will be 'ubuntu'.
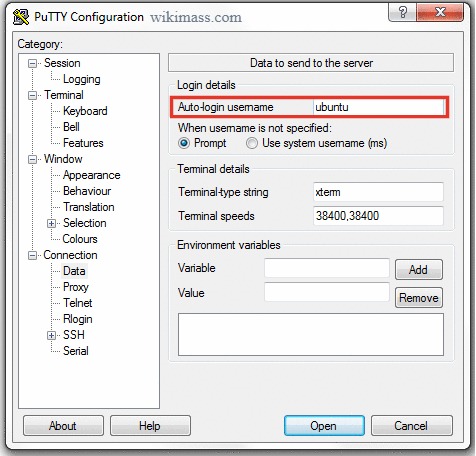
-
Paste your username in the 'Auto-login username' input box of PuTTY Configuration.
-
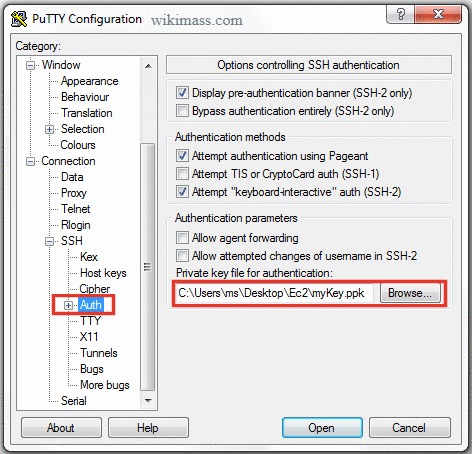
Expand 'SSH' menu under 'Connection' section on the left side menu.

-
Click on the 'Auth' menu under 'SSH' section and locate your myKey.ppk by clicking on the 'Browse...' button.
-
Move to 'Session' section in the top of the left side menu and do the following:
- Type the session name of your choice.
- Click on the 'Save' button.
-
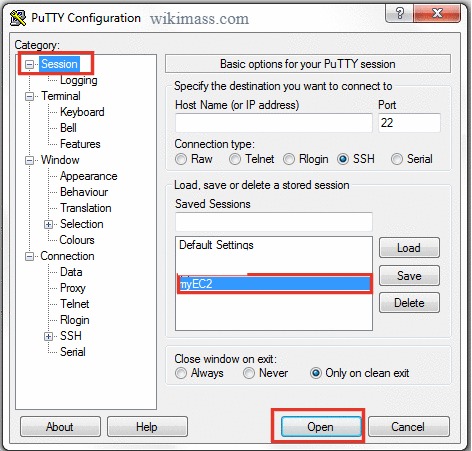
PuTTY Configuration is over. To Connect to your EC2 instance via PuTTY. Do the following:
- Open PuTTY
- Click on your Saved Sessions Name
- Click on the 'Open' button
-
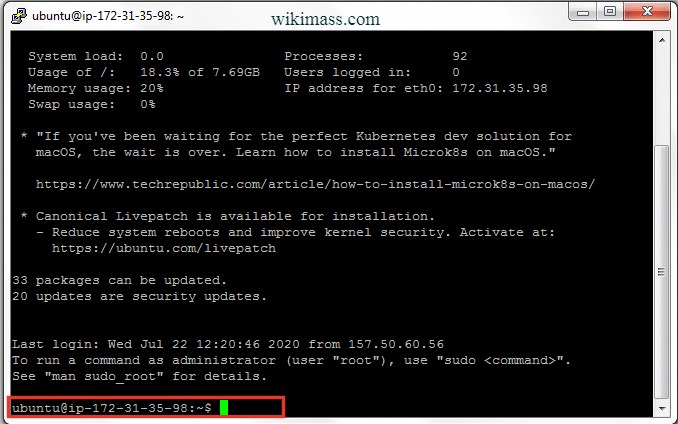
Hurray! PuTTY is connected to your EC2 instance.
Note: If your PuTTY is not connecting automatically. Please type your username ('ubuntu') manually or delete the saved session and reconfigure your PuTTY will fix it for you.
Setting up Node.js Environment
In this section, we will setup Node.js environment for your EC2 instance. To do so, please follow these steps:
-
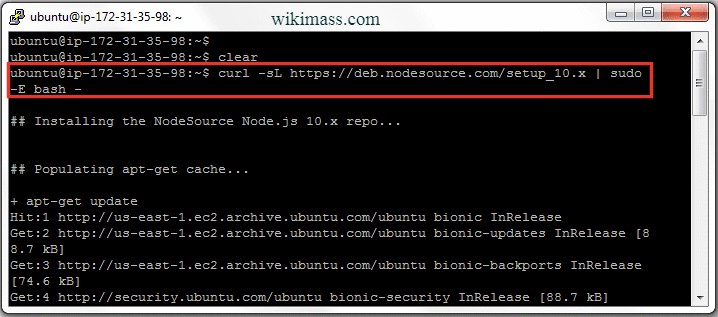
Connect to your EC2 instance via PuTTY (saved session).
-
Type the command 'curl -sL https://deb.nodesource.com/setup_10.x | sudo -E bash -' and press the 'Enter' key to install NodeSource Node.js 10.x repo.
-
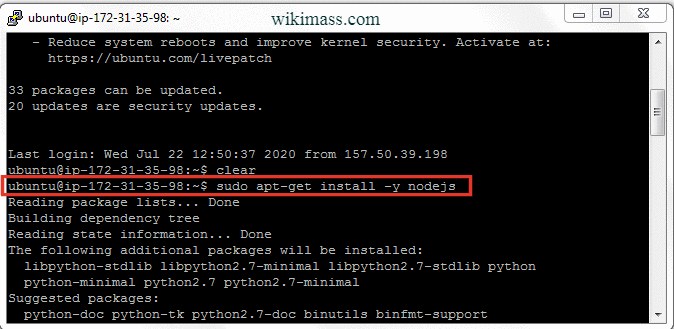
Type the command 'sudo apt-get install -y nodejs' and press the 'Enter' key to install Node.js.
-
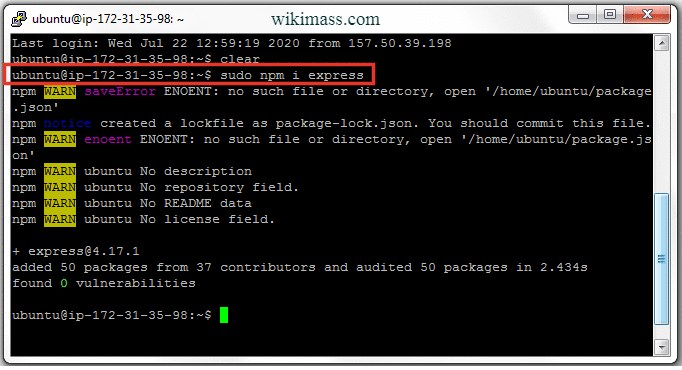
Type the command 'sudo npm i express' and press the 'Enter' key to install express.js.
-
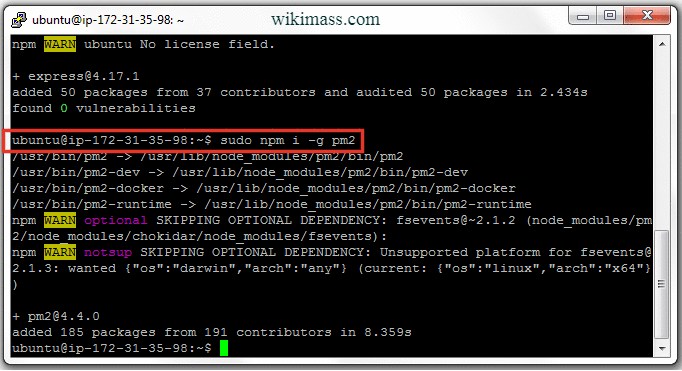
Type the command 'sudo npm i -g pm2' and press the 'Enter' key to install pm2.
Node.js Environment is setup successfully.
Create Directory in your EC2 Instance
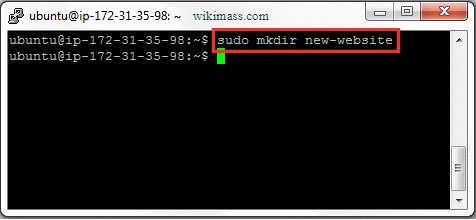
Create a directory ('new-website') by using the command 'sudo mkdir directory-name'.
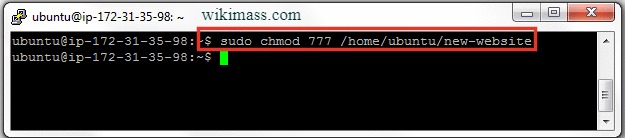
Give Permission
Give permission to ('new-website') folder by using the command 'sudo chmod 777 /home/ubuntu/new-website', this will allow filezilla to upload your local files to that remote folder.
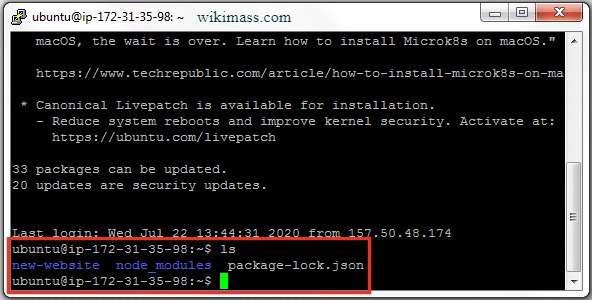
List Directories in you EC2 Instance
List all directories by using the command 'ls'.
Upload Files to EC2 Instance
To upload all your files to EC2 instance. Do the following:
-
Open Filezilla and connect to your EC2 instance.
-
Once successfully connected. Open the 'new-website' folder in 'Remote site' section.
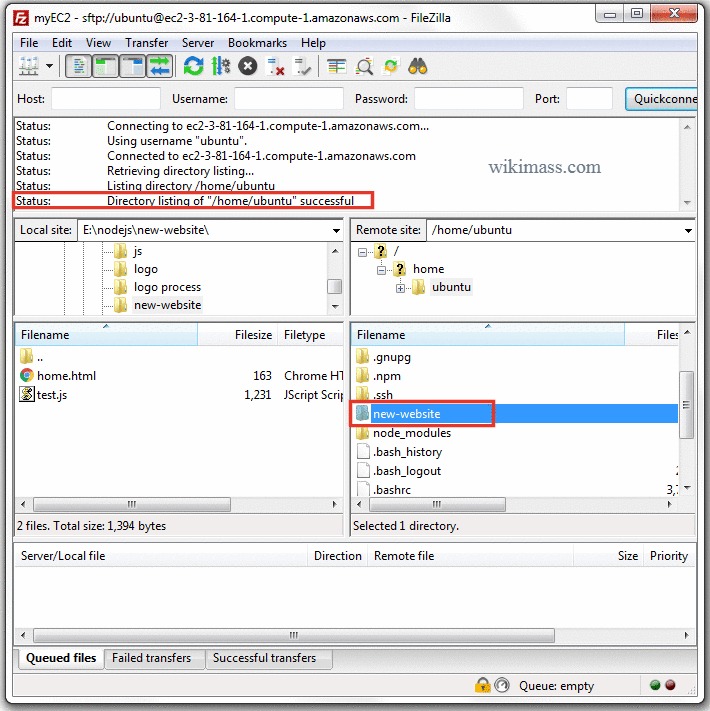
-
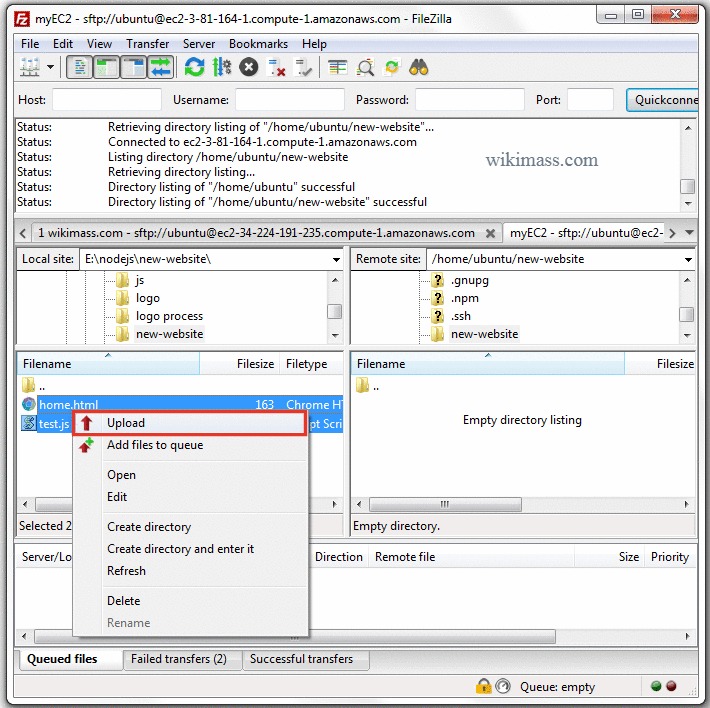
Select all your required files from the 'Local site' section , right-click it and upload the files.
-
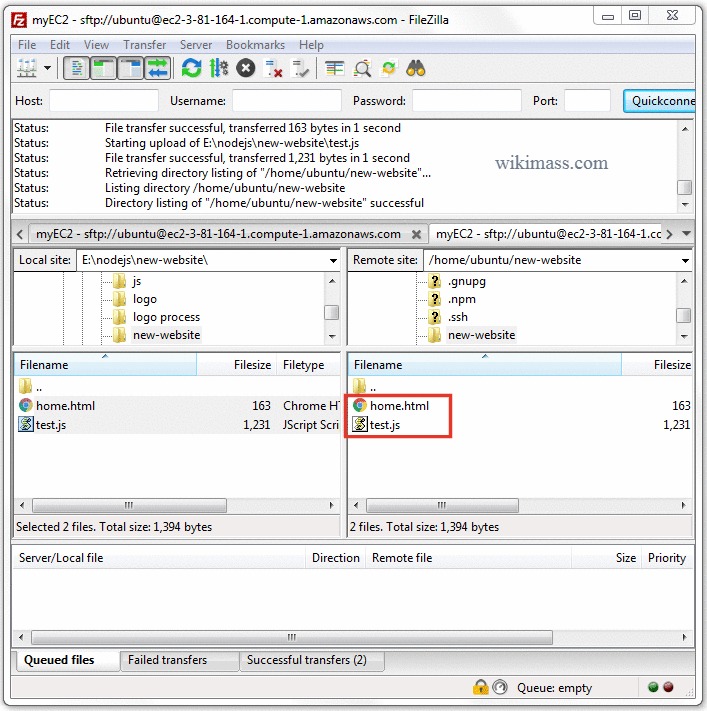
Now, all the uploaded files will appear on your 'Remote site' which indicates that the files are in your EC2 instance.
Close the filezilla.
-
For verification, lets check from PuTTY. To do so, please follow these steps:
-
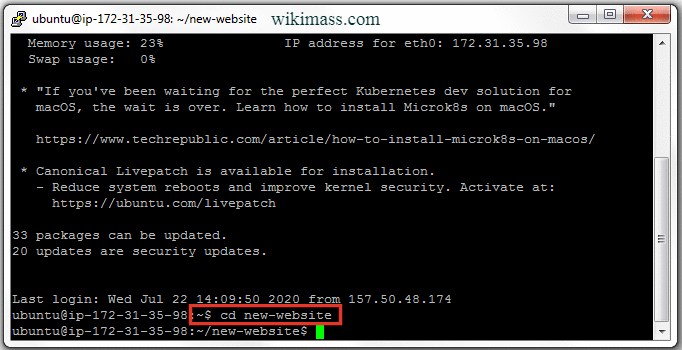
Open PuTTY and navigate to the 'new-website' folder using the command 'cd new-website'.
-
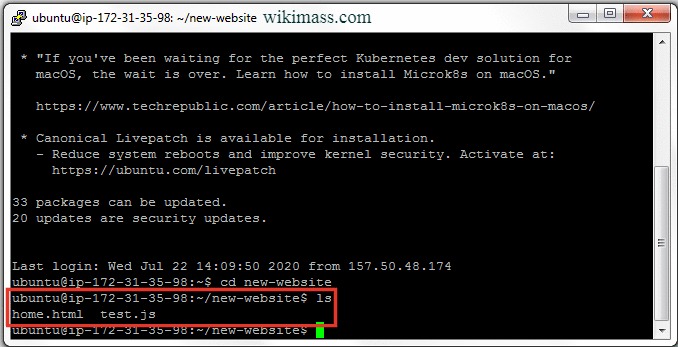
Type 'ls' command to list all the files in the 'new-website' folder.
Yes, the files are available.
-
-
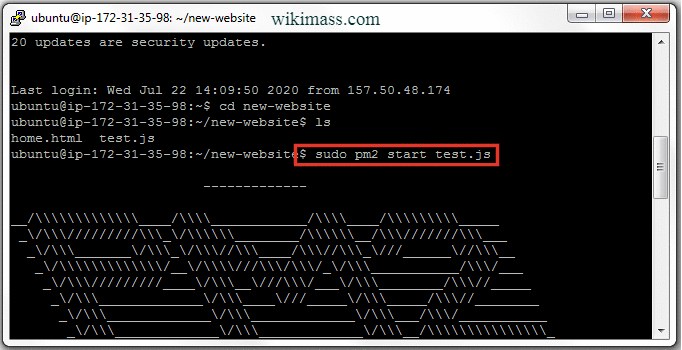
Lets start our Node.js app using pm2.
Type 'sudo pm2 start test.js' command to start your test.js application.
Note: Make sure you are the in 'new-website' folder.
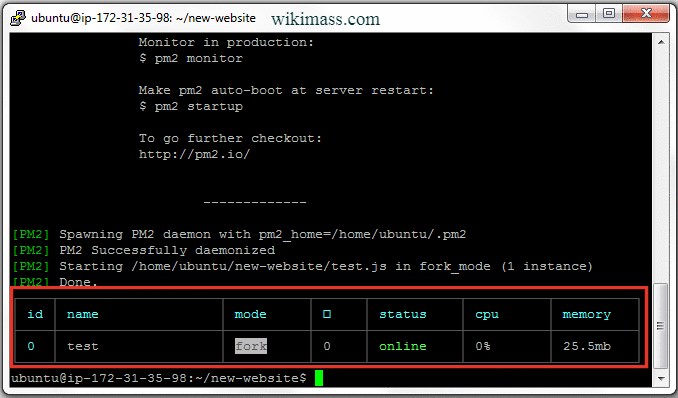
pm2 will display the status ('online') of the app your are running.
-
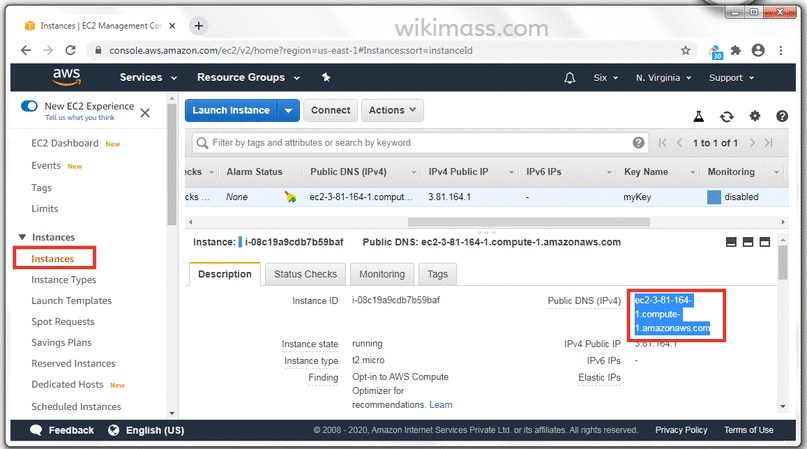
Open your 'AWS Management Console' and do to following:
- Navigate to the Instances.
- Click on the instance you are running the app
- Copy the Public DNS (IPv4) value.
-
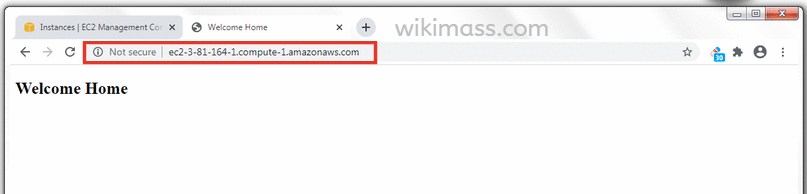
The copied Public DNS (IPv4) value is the URL. Paste the URL in your favorite web browser and press 'Enter' key.
Hurray! your Node.js website/app is live forever.
Related Tutorial
Learn Node.jsJoin Our Channel
Join our telegram channel to get an instant update on depreciation and new features on HTML, CSS, JavaScript, jQuery, Node.js, PHP and Python.
This channel is primarily useful for Full Stack Web Developer.